Mastering Nginx for Full-Stack Apps: Why You Need It and How to Use It
Mastering Nginx for Full-Stack Apps: Why You Need It and How to Use It
Before deploying your full-stack app, it's essential to understand how Nginx works, what role it plays in production environments, and how to configure it properly. This guide dives deep into what Nginx is, why it's critical for modern web applications, and how to use it as a reverse proxy for your frontend and backend.
If you're building and deploying a full-stack application — say, with NestJS for your backend and Next.js for your frontend — you’re eventually going to hear about Nginx. But what exactly is it? Why is it so widely used? And how do you configure it properly?
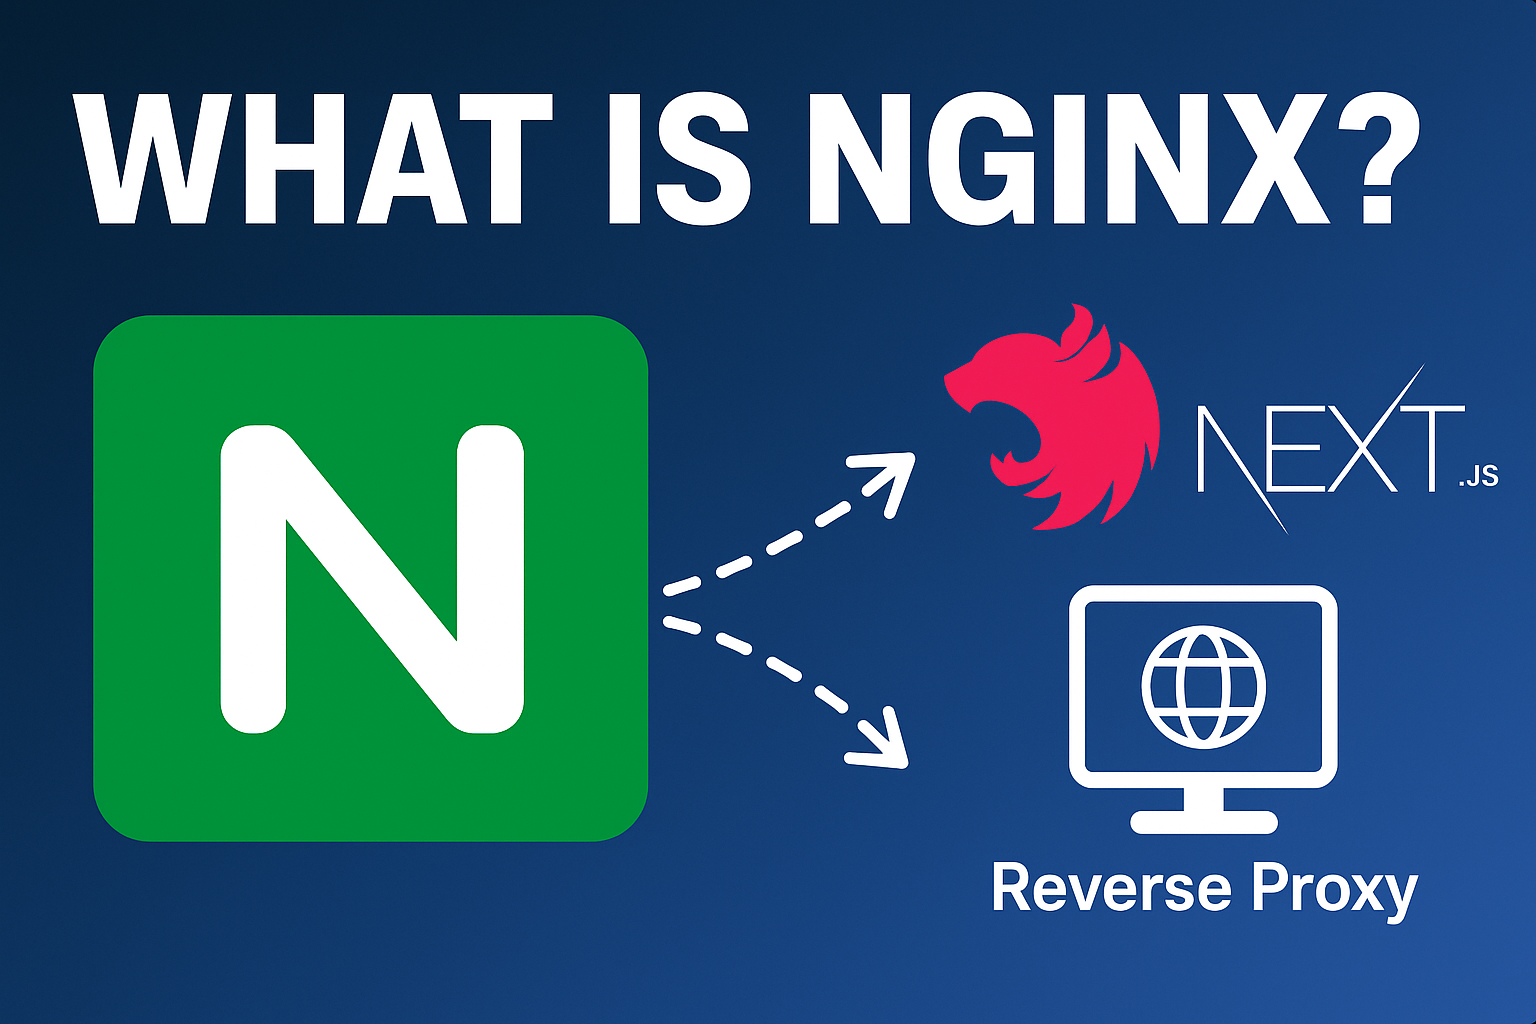
🌐 What Is Nginx?
Nginx (pronounced "Engine-X") is a high-performance web server and reverse proxy used by millions of websites.
At its core, it serves several essential purposes for full-stack apps:
- Static File Server — It can serve static content like HTML, CSS, JS, and images directly to the browser.
- Reverse Proxy — It forwards client requests to backend or frontend services running on internal ports.
- SSL Termination — It handles HTTPS encryption with SSL certificates.
- Load Balancer — It can distribute traffic to multiple backend servers.
- Security Gateway — It can filter, rate-limit, or restrict traffic for DDoS protection.
Example: A request tohttps://yourdomain.com/api/usersgets routed by Nginx tohttp://backend:5000/api/users
🔍 Why Use Nginx in Full-Stack Deployments?
✅ 1. Single Entry Point
Instead of exposing your backend at port 5000, frontend at 3000, and database at 5432, Nginx lets you accept traffic through just one port (80 or 443), and routes it appropriately.
This makes DNS records, browser URLs, and security settings simpler and cleaner.
✅ 2. HTTPS & SSL Termination
Browsers expect HTTPS. Most hosting providers penalize HTTP-only apps. Nginx lets you configure SSL certificates (using Certbot) and handles HTTPS encryption for all traffic.
✅ 3. Performance & Load Balancing
Nginx is asynchronous and event-driven, unlike traditional servers. It can serve static assets (HTML, JS, CSS) very quickly and balance traffic to multiple servers when needed.
✅ 4. Layered Security
You can:
- Hide internal container IPs
- Block suspicious IPs or countries
- Limit request rates or body sizes
- Add security headers (e.g., CORS, CSP, X-Frame-Options)
All at the Nginx level — before your app handles anything.
✅ 5. Clear Separation of Concerns
Let your frontend and backend do what they’re good at — and let Nginx manage how the world connects to them.
🛠️ Nginx as a Reverse Proxy: Full Walkthrough
Let’s say you have:
- Frontend (Next.js) running on
http://localhost:3000 - Backend (NestJS) running on
http://localhost:5000
You want:
https://yourdomain.comto show your frontendhttps://yourdomain.com/api/to route to your backend
Here’s how to do it:
📁 Step 1: Nginx Configuration File
Create this file at nginx/default.conf:
server {
    listen 80;
    server_name yourdomain.com www.yourdomain.com;

    location /api/ {
        proxy_pass http://backend:5000/;
        proxy_http_version 1.1;
        proxy_set_header Upgrade $http_upgrade;
        proxy_set_header Connection 'upgrade';
        proxy_set_header Host $host;
        proxy_cache_bypass $http_upgrade;
    }

    location / {
        proxy_pass http://frontend:3000/;
        proxy_http_version 1.1;
        proxy_set_header Upgrade $http_upgrade;
        proxy_set_header Connection 'upgrade';
        proxy_set_header Host $host;
        proxy_cache_bypass $http_upgrade;
    }
}
🔍 Why this config?
- The
proxy_passline forwards requests to your containers. proxy_set_headerensures the real client IP is passed.- The
/api/location ensures your frontend never touches protected endpoints directly.
📦 Step 2: Add Nginx to Docker Compose
  nginx:
    image: nginx:alpine
    container_name: nginx_proxy
    ports:
      - "80:80"
      - "443:443"
    volumes:
      - ./nginx/default.conf:/etc/nginx/conf.d/default.conf
    depends_on:
      - frontend
      - backend
💡 Not familiar with Docker Compose? Check out Dockerize NestJS – Dockerfile & Compose
✅ Step 3: Launch Everything
docker compose up -d --build
Now when you visit http://yourdomain.com, Nginx will serve the frontend. And anything like http://yourdomain.com/api/users goes to the backend.
You just created a production-grade reverse proxy. 🎉
📌 Common Questions & Advanced Use
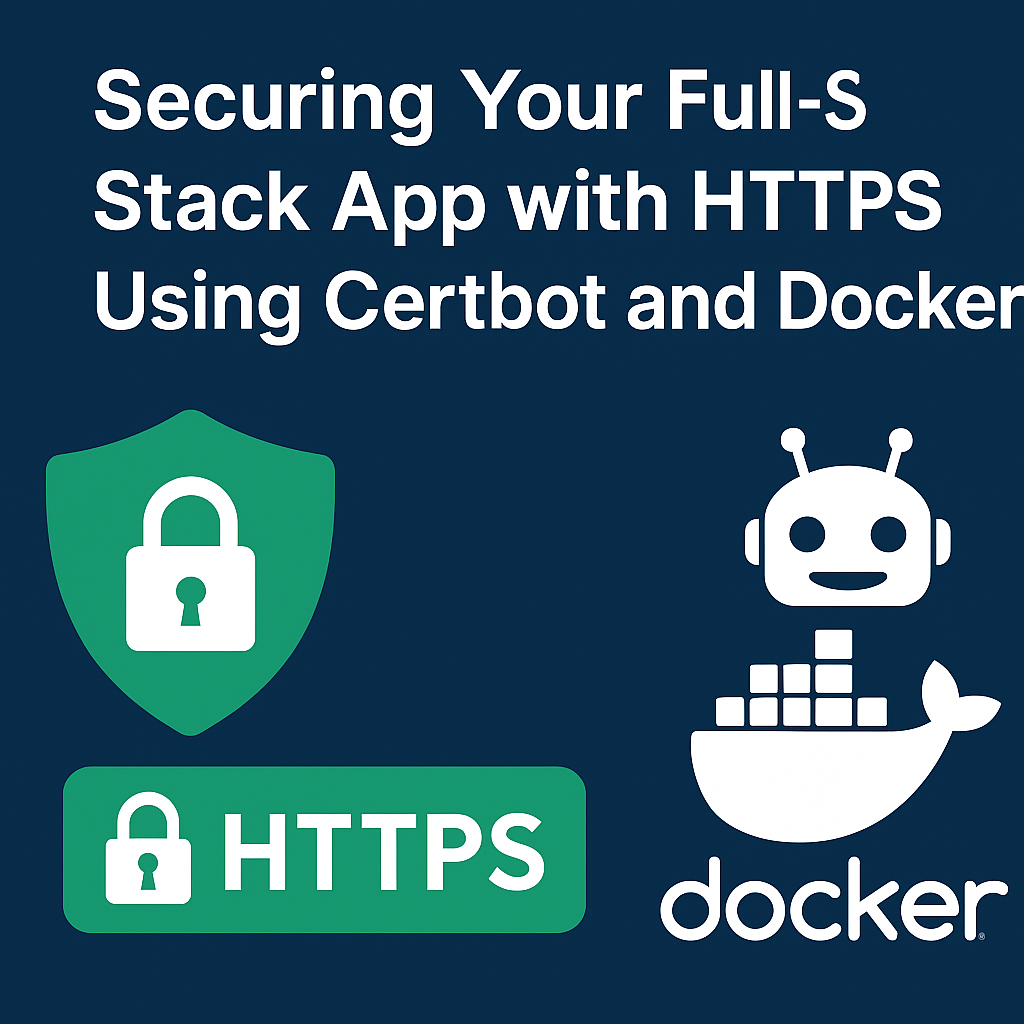
🔐 What About HTTPS?
You’ll configure HTTPS using Certbot + Let’s Encrypt in the next blog post. We’ll also show how to do that inside Docker with auto-renewal.
🧪 Can I Use Nginx Locally?
Yes — just edit your hosts file to point yourdomain.com to 127.0.0.1, and everything will work without deploying to the internet.
⚙️ What if My Backend Has Websockets?
Add these lines to your location /api/ block:
proxy_set_header Upgrade $http_upgrade;
proxy_set_header Connection 'upgrade';
That allows Nginx to support real-time traffic like WebSocket or SSE.
📁 What About Serving Static Files?
You can serve build/ folders directly without touching the backend. Example:
location /static/ {
    root /usr/share/nginx/html;
}
🧠 Summary
Nginx is a powerful tool that gives you full control over how your app is served to the world. It ensures security, performance, and scalability.
In this post, you learned:
- What Nginx is and what it does
- Why full-stack apps need a reverse proxy
- How to set up and configure Nginx with Docker
In the next post, we’ll show you how to enable HTTPS with SSL certificates using Certbot — also fully in Docker.
📘 Need a refresher on Docker? Read this first: Dockerize NestJS – Dockerfile & Compose
👉 Ready for Part 2? Let’s secure your site.
Need help now? Reach out at kaisalhusrom.com or message me on LinkedIn.
Comments
(0)
Leave a Comment
No comments yet
Be the first to share your thoughts!