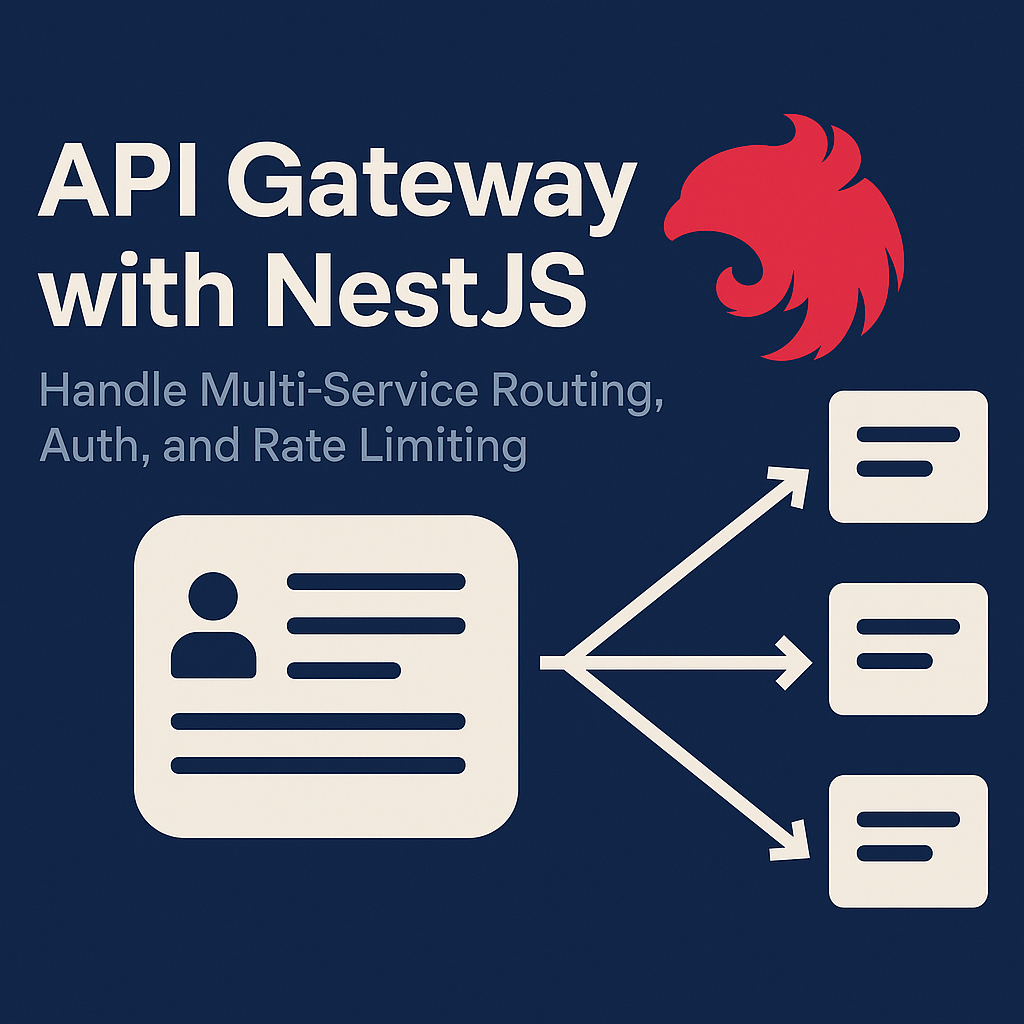
API Gateway with NestJS: Handle Multi-Service Routing, Authentication, and Rate Limiting
API Gateway with NestJS: Handle Multi-Service Routing, Authentication, and Rate Limiting
Learn how to build a powerful API Gateway using NestJS to route requests between microservices, apply authentication, and manage rate limiting. A practical, real-world guide for scalable microservice architecture.
📦 API Gateway with NestJS: Handle Multi-Service Routing, Auth, and Rate Limiting
But when services grow, we need a single entry point to:
- Route requests to the right service
- Authenticate users
- Apply rate limits and security rules
- Aggregate responses
That’s where an API Gateway comes in.
In this hands-on guide, I’ll show you how to build a robust API Gateway with NestJS, using:
- HTTP Proxying for routing
- Guards for Authentication
- Rate Limiting for abuse protection
- Support for multiple microservices (HTTP & TCP)
Let’s build something awesome. 🚀
🧠 What is an API Gateway?
An API Gateway is a single layer between your frontend and multiple backend services. It accepts requests, validates them, and forwards them to the correct microservice.
🔁 Example Use Case
Frontend → API Gateway → Auth Service
                        → Users Service
                        → Orders Service
Instead of calling each service directly, the frontend only communicates with the gateway, simplifying architecture and allowing centralized control.
🏗️ Project Setup
Start by creating a new NestJS project for the gateway:
npx @nestjs/cli new api-gateway
cd api-gateway
Install the needed libraries:
npm install --save axios @nestjs/throttler
We’ll use:
axiosfor HTTP proxying@nestjs/throttlerfor rate limiting
🗂️ Folder Structure (Simplified)
src/
├── main.ts
├── gateway.controller.ts
├── gateway.service.ts
├── auth.guard.ts
├── throttler.guard.ts
├── app.module.ts
🔀 1. Proxy Requests to Microservices
Let’s say we want to route:
/auth/login→ Auth Service/users/profile→ Users Service
🧩 gateway.service.ts
import { Injectable } from '@nestjs/common';
import axios, { AxiosRequestConfig } from 'axios';

@Injectable()
export class GatewayService {
  private services = {
    auth: 'http://localhost:3001',
    users: 'http://localhost:3002',
  };

  async forward(service: 'auth' | 'users', path: string, method: string, body: any, headers: any) {
    const url = `${this.services[service]}${path}`;
    const config: AxiosRequestConfig = {
      method,
      url,
      headers,
      data: body,
    };
    const res = await axios(config);
    return res.data;
  }
}
🎮 2. Create a Gateway Controller
import {
  Controller,
  Req,
  Res,
  All,
  UseGuards,
  HttpException,
  HttpStatus,
} from '@nestjs/common';
import { Request, Response } from 'express';
import { GatewayService } from './gateway.service';
import { AuthGuard } from './auth.guard';
import { ThrottlerGuard } from './throttler.guard';

@Controller()
export class GatewayController {
  constructor(private gatewayService: GatewayService) {}

  @All('*')
  @UseGuards(ThrottlerGuard, AuthGuard)
  async proxy(@Req() req: Request, @Res() res: Response) {
    try {
      const [_, service, ...restPath] = req.path.split('/');
      const path = '/' + restPath.join('/');
      const data = await this.gatewayService.forward(
        service as 'auth' | 'users',
        path,
        req.method,
        req.body,
        req.headers,
      );
      res.json(data);
    } catch (error) {
      throw new HttpException(error?.response?.data || 'Service Error', HttpStatus.BAD_GATEWAY);
    }
  }
}
This intercepts all incoming requests (@All('*')) and dynamically proxies them to the appropriate service based on the path.
🔐 3. Add an Authentication Guard
import { CanActivate, ExecutionContext, Injectable } from '@nestjs/common';

@Injectable()
export class AuthGuard implements CanActivate {
  canActivate(context: ExecutionContext): boolean {
    const req = context.switchToHttp().getRequest();
    const auth = req.headers['authorization'];
    // You could validate a token here, or forward it to the auth service
    return !!auth; // For demo purposes, allow if Authorization header exists
  }
}
In production, you'd verify JWT tokens or forward the token to the auth service to validate.
🧃 4. Apply Rate Limiting (Per IP)
import { Injectable } from '@nestjs/common';
import {
  ThrottlerGuard as BaseThrottlerGuard,
  ThrottlerModule,
} from '@nestjs/throttler';

@Injectable()
export class ThrottlerGuard extends BaseThrottlerGuard {}
In your app.module.ts:
import { Module } from '@nestjs/common';
import { ThrottlerModule } from '@nestjs/throttler';
import { GatewayController } from './gateway.controller';
import { GatewayService } from './gateway.service';
import { AuthGuard } from './auth.guard';
import { ThrottlerGuard } from './throttler.guard';

@Module({
  imports: [
    ThrottlerModule.forRoot({
      ttl: 60, // 1 minute
      limit: 10, // 10 requests per minute per IP
    }),
  ],
  controllers: [GatewayController],
  providers: [GatewayService, AuthGuard, ThrottlerGuard],
})
export class AppModule {}
🔌 5. Bonus: Support for TCP Microservices
If your microservices use TCP instead of HTTP, you can use NestJS’s ClientProxy.
But that’s a topic for another post 😉 (let me know if you want me to write that next!)
✅ Final Thoughts
An API Gateway is essential for any production-level microservices system.
By combining:
- Dynamic routing
- Centralized authentication
- Rate limiting & security
- Flexible microservice forwarding
…you gain full control, scalability, and flexibility across your backend.
NestJS makes it surprisingly clean and powerful to implement these ideas.
🔗 Bonus Resources
🙌 Was this helpful?
If you found this post useful, share it with someone building with microservices or NestJS.
Comments
(0)
Leave a Comment
No comments yet
Be the first to share your thoughts!


