NestJS ile API Gateway: Çoklu Servis Yönlendirme, Kimlik Doğrulama ve Rate Limiting
NestJS ile API Gateway: Çoklu Servis Yönlendirme, Kimlik Doğrulama ve Rate Limiting
NestJS kullanarak güçlü bir API Gateway oluşturmayı öğren. Mikroservisler arasında istek yönlendirme, token doğrulama ve rate limiting uygulamayı kapsayan bu rehber, modern ve ölçeklenebilir bir backend mimarisi kurmana yardımcı olacak.
📦 NestJS ile API Gateway: Çoklu Servis Yönlendirme, Kimlik Doğrulama ve Rate Limiting
Ama mikroservis sayısı arttıkça, frontend’in doğrudan her servise erişmesi yerine, tüm isteklerin geçtiği tek bir giriş noktası gerekiyor.
İşte bu noktada API Gateway devreye giriyor:
- Tüm istekleri karşılar
- Gerekli servise yönlendirir
- Kimlik doğrulaması yapar
- Rate limiting uygular
- Hataları ve yanıtları merkezi olarak işler
Bu yazıda, NestJS ile kendi API Gateway’inizi nasıl inşa edebileceğinizi adım adım göstereceğim.
Hazırsan başlayalım! 🚀
🧠 API Gateway Nedir?
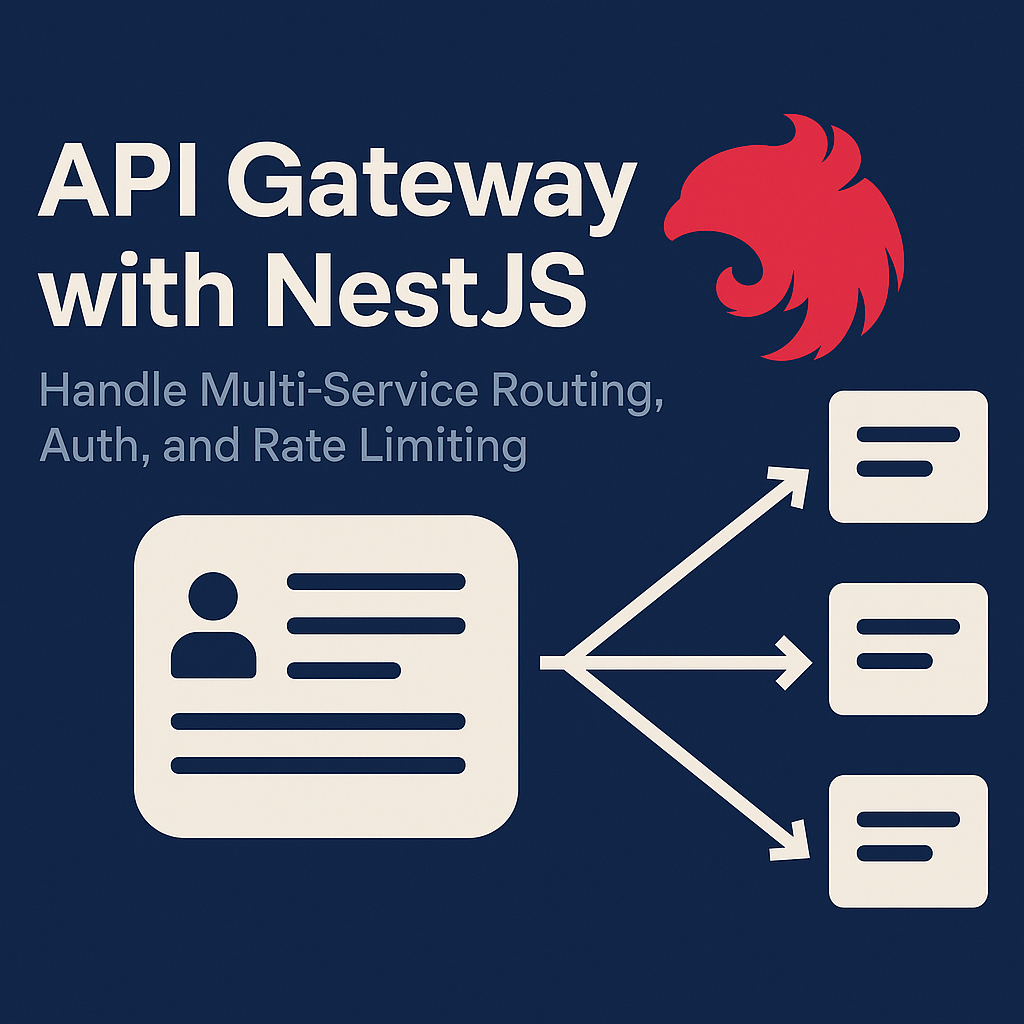
API Gateway, frontend uygulaman ile arkadaki mikroservisler arasında duran bir köprü katmandır. Tüm gelen istekleri kabul eder, kontrol eder ve uygun servise iletir.
🔁 Örnek Mimari
Frontend → API Gateway → Auth Service
                          → Users Service
                          → Orders Service
Frontend sadece Gateway’i bilir. Mikroservislerin adresleri, kimlik doğrulama yöntemleri ya da rate limit kuralları tamamen gateway içinde yönetilir.
🏗️ Proje Kurulumu
Yeni bir NestJS projesi başlatalım:
npx @nestjs/cli new api-gateway
cd api-gateway
Gerekli paketleri yükleyelim:
npm install --save axios @nestjs/throttler
axios: HTTP isteklerini diğer servislere yönlendirmek için@nestjs/throttler: Rate limiting için kullanacağız
🗂️ Basit Dizin Yapısı
src/
├── main.ts
├── gateway.controller.ts
├── gateway.service.ts
├── auth.guard.ts
├── throttler.guard.ts
├── app.module.ts
🔀 1. İstekleri Mikroservislere Yönlendirme
Örnek olarak:
/auth/login→ Auth servisine gider/users/profile→ Users servisine gider
🧩 gateway.service.ts
import { Injectable } from '@nestjs/common';
import axios, { AxiosRequestConfig } from 'axios';

@Injectable()
export class GatewayService {
  private services = {
    auth: 'http://localhost:3001',
    users: 'http://localhost:3002',
  };

  async forward(service: 'auth' | 'users', path: string, method: string, body: any, headers: any) {
    const url = `${this.services[service]}${path}`;
    const config: AxiosRequestConfig = {
      method,
      url,
      headers,
      data: body,
    };
    const res = await axios(config);
    return res.data;
  }
}
🎮 2. Gateway Controller Oluşturma
import {
  Controller,
  Req,
  Res,
  All,
  UseGuards,
  HttpException,
  HttpStatus,
} from '@nestjs/common';
import { Request, Response } from 'express';
import { GatewayService } from './gateway.service';
import { AuthGuard } from './auth.guard';
import { ThrottlerGuard } from './throttler.guard';

@Controller()
export class GatewayController {
  constructor(private gatewayService: GatewayService) {}

  @All('*')
  @UseGuards(ThrottlerGuard, AuthGuard)
  async proxy(@Req() req: Request, @Res() res: Response) {
    try {
      const [_, service, ...restPath] = req.path.split('/');
      const path = '/' + restPath.join('/');
      const data = await this.gatewayService.forward(
        service as 'auth' | 'users',
        path,
        req.method,
        req.body,
        req.headers,
      );
      res.json(data);
    } catch (error) {
      throw new HttpException(error?.response?.data || 'Service Error', HttpStatus.BAD_GATEWAY);
    }
  }
}
Tüm gelen istekleri yakalayıp ilgili servise yönlendiren temiz ve güçlü bir yapı.
🔐 3. Kimlik Doğrulama Guard’ı
import { CanActivate, ExecutionContext, Injectable } from '@nestjs/common';

@Injectable()
export class AuthGuard implements CanActivate {
  canActivate(context: ExecutionContext): boolean {
    const req = context.switchToHttp().getRequest();
    const auth = req.headers['authorization'];
    return !!auth; // Authorization header varsa devam et
  }
}
İstersen burada JWT doğrulaması yapabilir veya auth servisine token’ı doğrulatabilirsin.
🧃 4. Rate Limiting Uygulama
throttler.guard.ts:
import { Injectable } from '@nestjs/common';
import {
  ThrottlerGuard as BaseThrottlerGuard,
} from '@nestjs/throttler';

@Injectable()
export class ThrottlerGuard extends BaseThrottlerGuard {}
app.module.ts dosyasına ekle:
import { Module } from '@nestjs/common';
import { ThrottlerModule } from '@nestjs/throttler';
import { GatewayController } from './gateway.controller';
import { GatewayService } from './gateway.service';
import { AuthGuard } from './auth.guard';
import { ThrottlerGuard } from './throttler.guard';

@Module({
  imports: [
    ThrottlerModule.forRoot({
      ttl: 60, // saniye
      limit: 10, // IP başına 10 istek/dk
    }),
  ],
  controllers: [GatewayController],
  providers: [GatewayService, AuthGuard, ThrottlerGuard],
})
export class AppModule {}
🔌 5. Bonus: TCP Servisleri Desteklemek
Eğer mikroservislerin TCP üzerinden çalışıyorsa, NestJS’in ClientProxy yapısını kullanabilirsin.
Bu yazıda HTTP proxy odaklıyız, ama istersen bir sonraki yazıda TCP gateway’i detaylı anlatabilirim 😉
✅ Sonuç
Gördüğün gibi, NestJS ile API Gateway oluşturmak düşündüğünden daha kolay.
Böylece:
- Yönlendirme,
- Kimlik kontrolü,
- İstek limitleme,
- Güvenlik
- …gibi işlemleri tek bir merkezi noktadan kontrol edebilirsin.
Bu, mikroservis mimarisinin daha temiz, esnek ve ölçeklenebilir olmasını sağlar.
🔗 Faydalı Kaynaklar
- NestJS Microservices Dokümantasyonu
- Axios Resmi Sayfası
- nestjs/throttler GitHub
- Rate Limiting Teknikleri
Yorumlar
(0)
Yorum Yap
Henüz yorum yok
Düşüncelerinizi paylaşan ilk kişi olun!


